How to Maintain the Dyson V15 Detect
For official instructions on the Dyson V15 Detect please check out the user manual. If you want to get a quick look at how long it takes to maintain the V15 Detect, check out my shorter summary article.
1. Empty the bin
Don’t overfill the bin - it has a MAX line on it. Find this line on the exterior of the bin. Follow these steps to empty the bin:
- Remove the wand - Detach the long pipe from where it meets the bin using the red button.
- Release the dirt using the red handle - It ejects quickly so have it aimed in the right spot. The recommendation from Dyson is to empty the bin contents inside a bag.
- Click it back into place - Close the bin by pushing it back toward the handle. It will click into place, then close the lid.
Tip: consider cleaning the bin by wiping it with a damp rag. Only reassemble the bin if it’s completely dry.
2. Look for clogs or blocked areas
When the V15 Detect is cooled down and disconnected from the battery power, disassemble it and look for blockages. Here are key the areas:
- Main body - Remove the bin and visually inspect the body.
- Wand and cleaner head - Look at both ends of the want for anything blocking the tube.
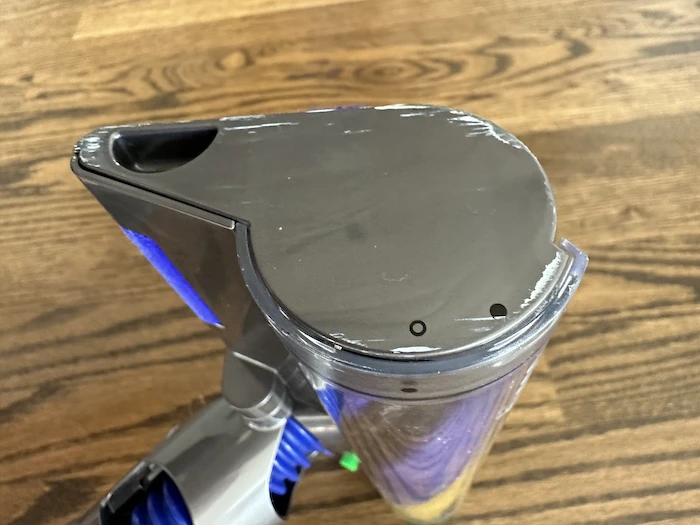
3. Clean the Air Filter

Wash the air filter once a month to maintain the best suction.
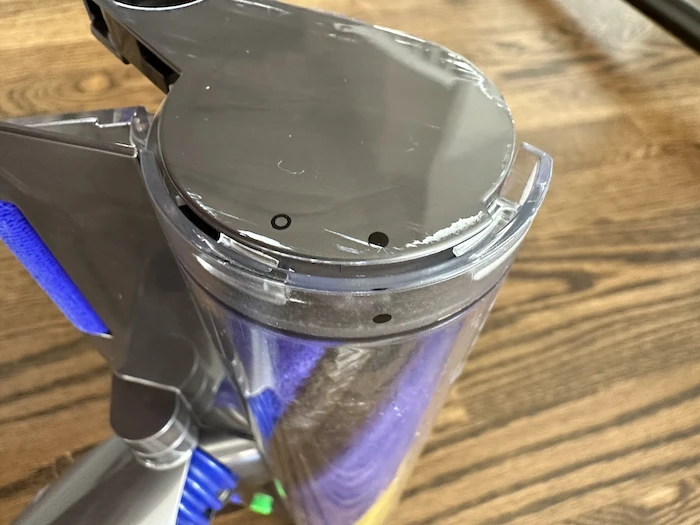
- Remove the filter - Twist the filter to unscrew it from the housing.
- Tap it off - Gently tap it over a waste bin to loosen excess dust.
- Wash under warm water - You should see dirt coming off the lower portion of the filter. I rinse the interior and exterior of the filter until it looks like there aren’t any dirty areas.
- Fill and shake - Dyson recommends filling up the filter with water by placing your hand on one end to create a cup of sorts. Then, covering both sides of the filter, shake it back and forth to dislodge trapped dirt.
- Shake off the water - Keep shaking until water is no longer coming from the filter.
- Let it dry - Let it dry in the open air for at least 24 hours.
4. Wash the “Laser Slim Fluffy” Brush Bar
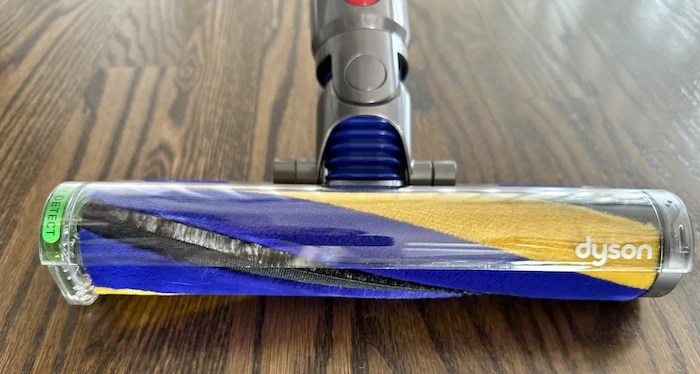
Washing the attachment is easy. Follow these steps:
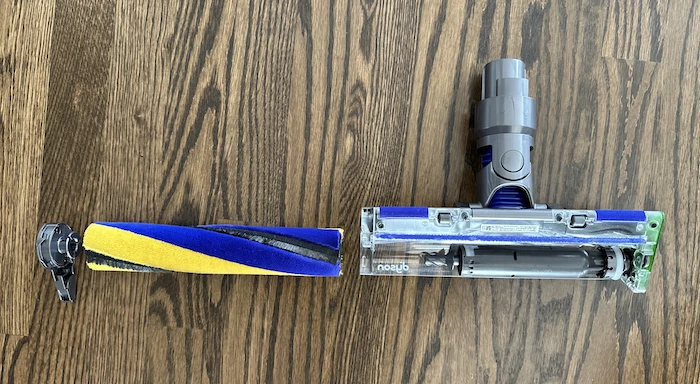
- Disconnect the end cap - Located at one side of the cleaner head is a small notch. Pull it upward to unlock.
- Pull out the fluffy brush bar - It should slide completely off.
- Remove the end cap - Remove the end cap you used to unlock the brush bar.
- Rinse under water - Hold the brush bar under running water to remove any debris or dirt. Typically, I do this for at least a minute.
- Let it dry - Leave the brush bar out to dry for at least 24 hours.
- Put it back together - After it’s dry, reattach the end cap and slide the brush bar back onto the attachment. Lock it in place by pushing down on the end cap to a closed position.
Tip: To clean the laser, use a dry cloth and gently wipe away any dust or debris that may have accumulated on the lens. Avoid using any cleaning solutions or liquids, as they may cause damage.
5. Clean the High Torque cleaner head
The High Torque head is not washable. Instead, it can be detached from its housing using the lock on the side of the housing.
- Unlock the brush bar - Using a coin, unlock the brush bar from the housing by turning the coin in the slot.
- Remove the brush bar - Take the brush bar off the housing by sliding it out the other end of the housing.
- Remove debris - Remove hair tangles or other debris from the brush bar.
- Re-assemble - Slide the brush bar back into the housing and lock the bar in place using the coin and slot.
6. Clean other attachments
The remaining attachments are a bit less complicated than the above components and can be wiped down and checked for clogs periodically.